
We were planning a car camping trip over the July 4th and I had to get us a Coleman stove. That’s because few things cause as much pleasant nostalgia as using the same equipment we used as Boy Scouts: Eureka Timberline tents, Coleman lanterns, and Coleman stoves were our mainstays. As you may have noticed from the link, people love these things so much there are collectors’ groups, like there are for comics, coins or stamps.
Why and where to buy one
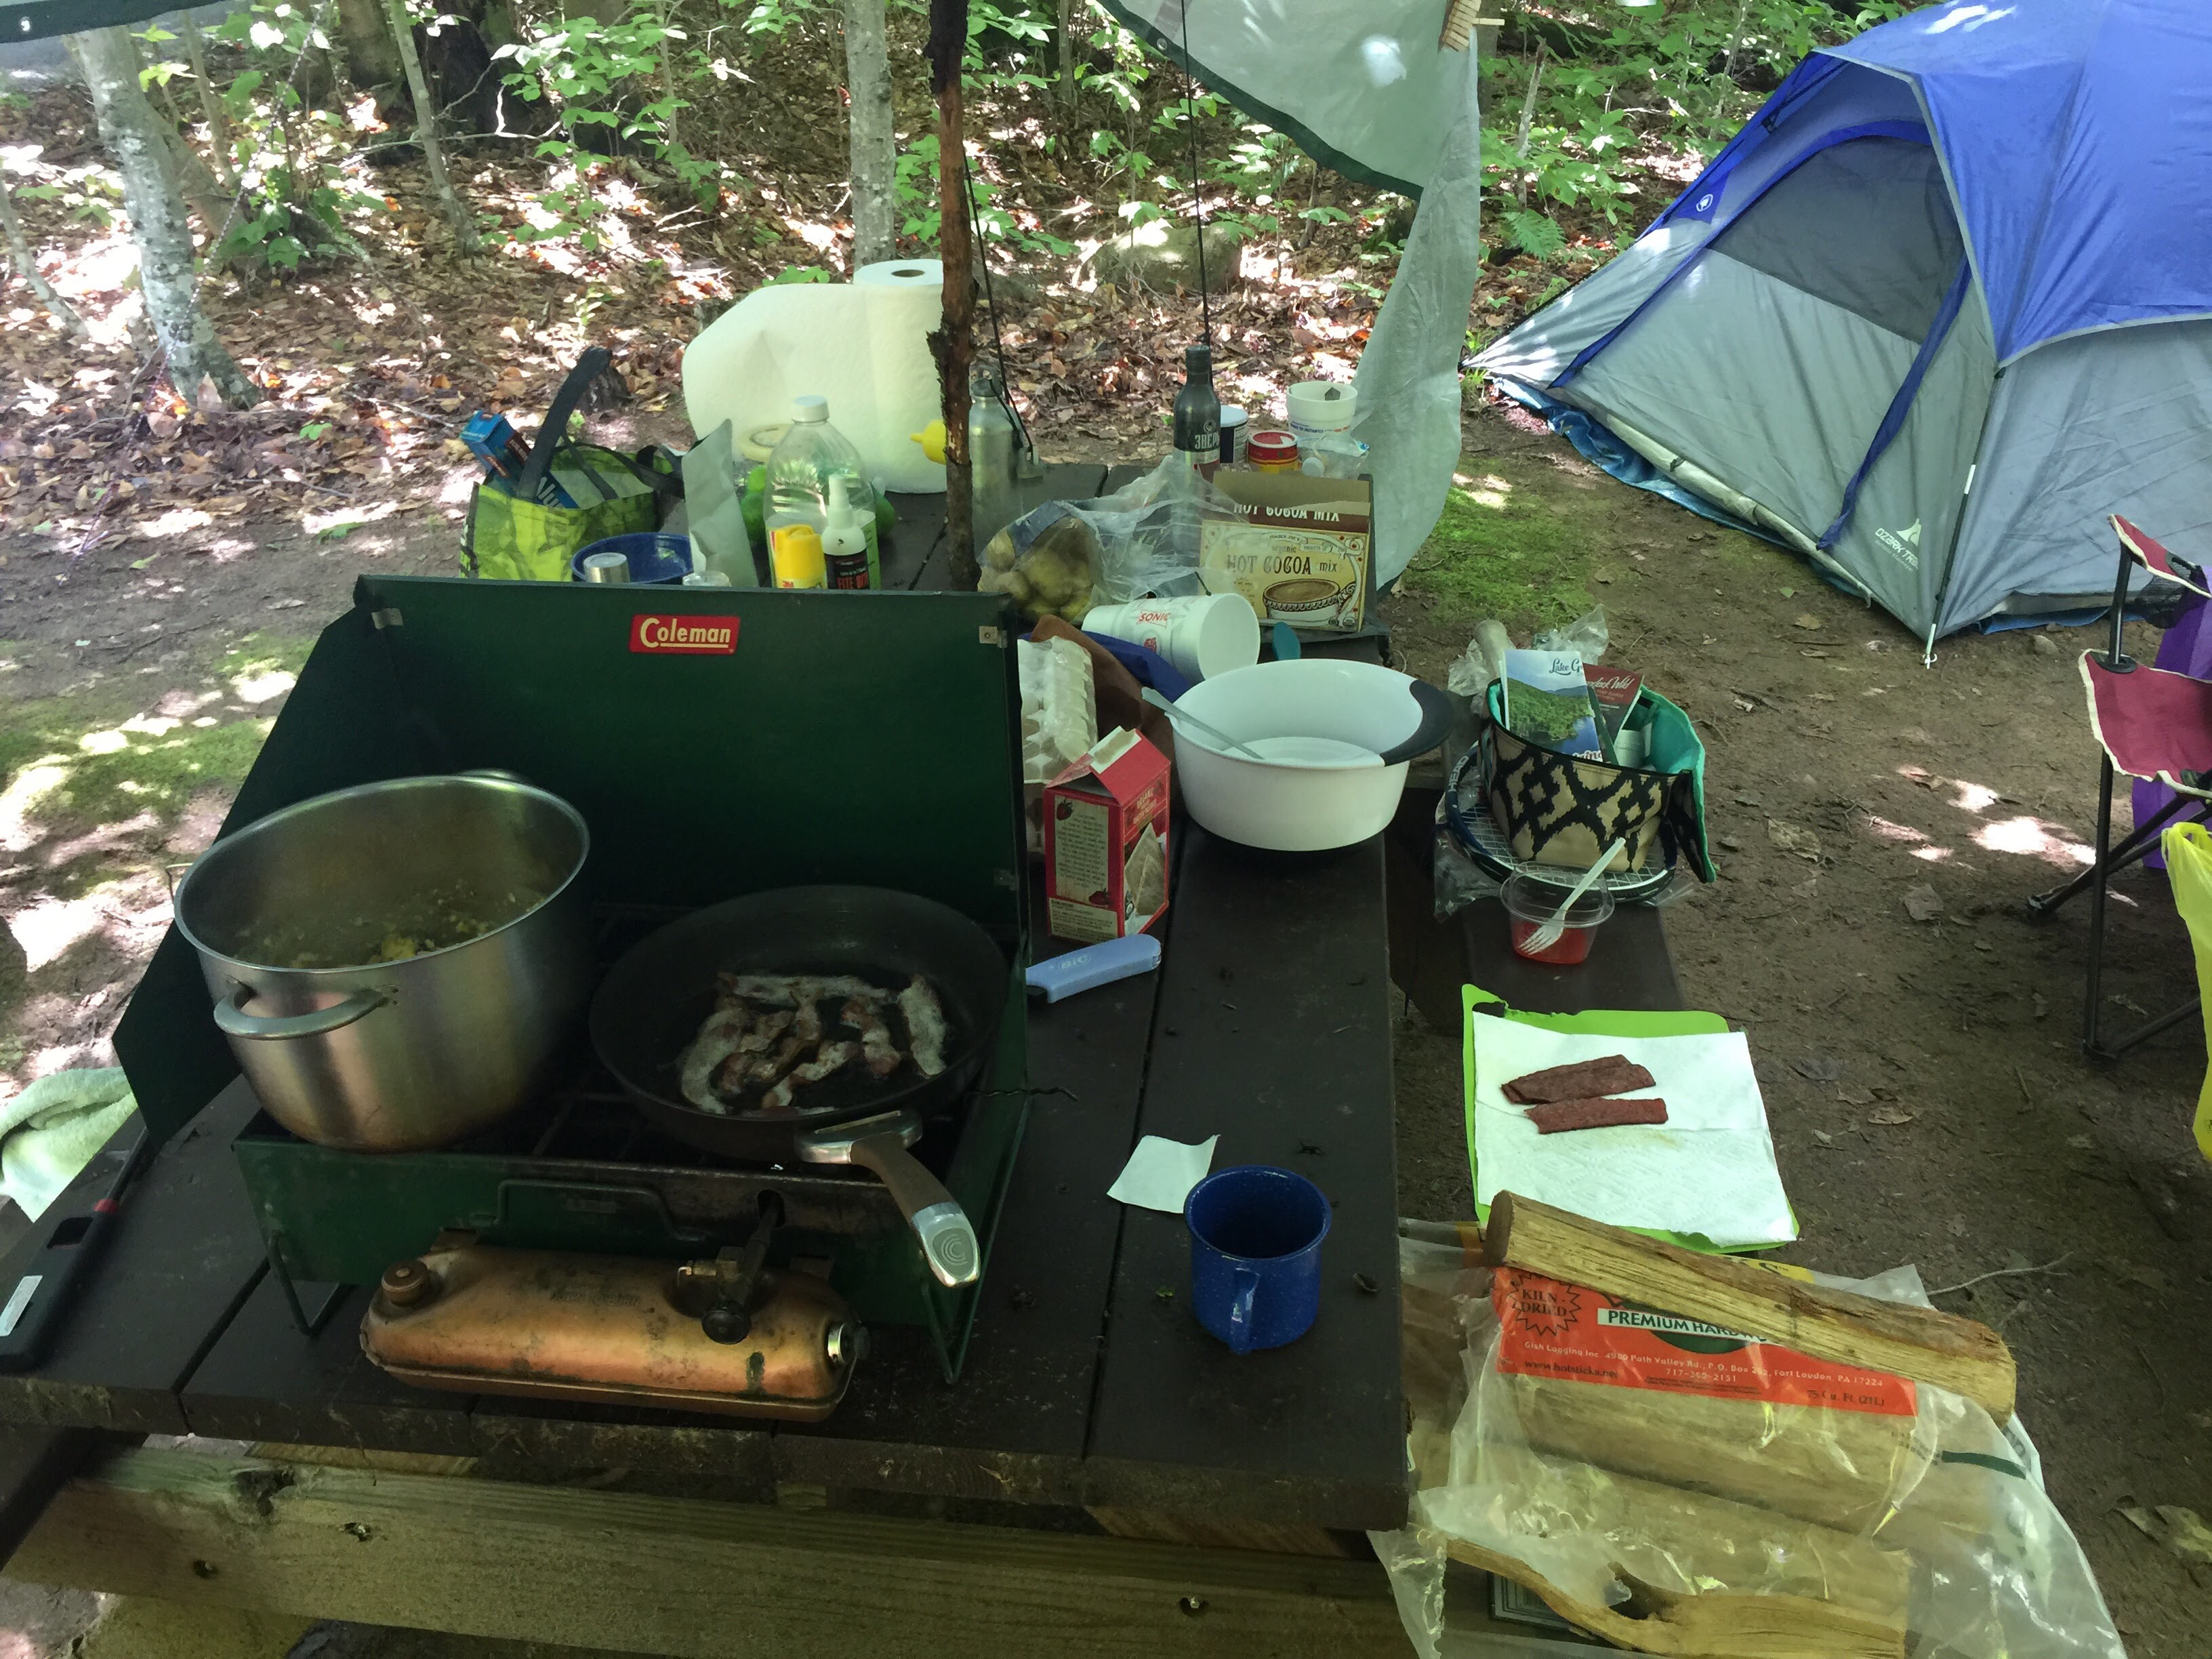
Yes, those green metal briefcases weren’t lightweight, and they definitely weren’t in the best shape after cooking pounds and pounds of ground beef, bacon, or whatever mess we had chosen for our meals, but they were rock-solid and simple enough for a bunch of 12-year-olds not to break or cause an explosion. They run on good ol’ Coleman fuel, aka white gas, i.e., unleaded gasoline without the automobile additives.
They’re large enough to prepare a real meal, unlike your typical backpacking stove. They also happen to be incredibly easy to buy or to service. Parts and fuel for the Coleman gas lantern fit the stove and vice-versa. It’s one big unbeatable gas-burning system. In essence, it’s America. Thanks, petroleum!
Millions have been sold since the Baby Boom era and they all use roughly the same interchangeable parts, so I went ahead and bought the first inexpensive used model on Craigslist that didn’t require me to venture out past the ends of the subway. For $35 I got what was billed as a working 425B stove, as well as a percolator coffeepot. You’ll find them on eBay or Craigslist for around $45-50 or you can save yourself the trouble and buy a new one for $125-150.
Being the nostalgic soul and a bit of a cheapskate, I had to get the used made-in-USA version. Turns out it’s a true antique, likely from the 1950s!
Routine maintenance
I realized fairly quickly that it needed some work, though through trial and error and a bit of research, here’s what I determined needed to be done:
- Oil the fuel pump cup. It’s made of leather and gets dried out. As long as its not cracked it doesn’t need to repaired, only oiled. I used sewing machine oil, others use motor oil or even olive oil. The pump pops out of its casing once you pull out the ring that holds it in place, no tools needed.
- Replace the fuel cap gasket. This is because the ancient rubber gasket had fused with the metal to the point where it was indistinguishable from the rest of the cap. Heat it by holding over your gas stove with pliers, then dip it in cold water. Use a screwdriver or other chisel-like implement to remove the gasket from the metal channel. I then took the cap to Home Depot and tested o-rings until I found the right one to fit in the channel.You can also save yourself some time and just buy a new fuel cap, Coleman part number 3000000454.
- Clean the fuel tank. Leave denatured alcohol in it overnight. Then shake and dump the alcohol, then rinse again with a cup of fuel. This will get all the flecks of rust, corrosion or debris out of the tank. These impurities can clog your generator, which is the metal tube that delivers the gas to the burner. A small funnel would help in this case so everything doesn’t smell like gas. Transfer fuels outside if you can.

- Make sure the burner rings of the stove are stacked in the following order: flat, corrugated, flat, corrugated, flat, corrugated, flat (see photo). All you need for this is a flat-head screwdriver. All the corrugated rings were stacked together when I received the stove, thus transforming the burner opening from a honeycomb to a closed tube from which fuel could not escape. I copied the arrangement on the second burner. Problem solved.
This site is a great reference if you have more questions or would like photos.
Getting started
Another mystery is how to light the darn thing. Here’s where one of those metal-tipped fire lighters comes in handy. Follow these rough steps (and read this):
- Fill the tank half-way with gas. Close the cap, though only enough to hold a tight seal.
Twist the pump valve one to two turns to the left, pump 20-25 times. Close the pump valve.
Flip the “up to light” switch to the “up” position, then open the valve on the generator so you hear a liquid or spitting sound, not just air exiting the tank. The generator controls the flow. - Light the right burner. Wait around a minute for it to heat up and check that there is a blue flame before turning the “up to light” switch to the “down” position. This step heats the generator and burns out any impurities from the line.
- Give the burner a few more pumps (10-15) until it is chugging along with a strong blue flame, similar to what you’d expect from a kitchen stove. My first few minutes cooking were handicapped by not pressuring the tank enough.
- To light the second (left) burner, turn the key in the hole in the left side of the stove to the left and light the burner as you did on the right. The more the burner is opened, the stronger the flame. It is fed from the main generator so no adjustments should be needed other than possibly turning up the gas.
When in doubt, fiddle with the generator valve for more or less fuel, or pump the tank when the flame isn’t coming out fast enough.
Conclusion
To sum it all up, if you’re up for a bit of a challenge, you can find nostalgic camping gear and service it yourself. It’s great for big meals and easy to fix in the field. The design looks the same as it did 65 years ago because you shouldn’t mess with perfection.

Leave a comment