New York apartments are small, too small for mountains of bottles, that was my rationale for jumping into kegging my homebrew beer. Though to be totally honest, my motivation was a desire to professionalize my homebrew setup with temperature control and quicker grain-to-glass times. Combining keg, tap, and temperature controller in one mini fridge allows for better ferments and quicker serving times.
Read on for the parts needed and steps to take to make this project happen.
Sizing
Fitting everything into this sleek and compact package required a conscious decision to focus on smaller 2.5- or 3-gallon batches of beer.
The typical homebrewer would consider these half-batches, as most pre-packaged recipes come in 5-gallon sizes. Smaller batches means more room to experiment, but they also mean buying your ingredients a la carte, which lends itself well to all grain / BIAB brewing (more on that in a later post).
My three-gallon kegs is approximately 16″ tall and 9″ wide, while my Ss Brewtech Mini Brew Bucket is 16″ tall and 11″ at its widest. Either of these vessels fits easily inside a standard minifridge.
Parts: Big Items
The parts below are the big-ticket items ($20+) for the project build.
4.6 cu ft Kenmore minifridge
I found a used stainless steel-accented minifridge on Craigslist for $75. A new minifridge would cost around $150 or more. Larger minifridges like this one give more space without needing to tear things out of the inside of the fridge.
As it is, the keg fits on the floor of the fridge on a wedge of styrofoam, no further modification needed. The fermenter fits on the bottom shelf, which I normally take out the shelf when the keg is in.
Ss Brewtech Mini Brew Bucket 3.5-gallon fermenter
This particular fermentation vessel is solid, easy to clean, and happens to fit perfectly in the fridge. Plus it looks really slick in stainless steel. It does not come with a stick-on thermometer, which is a recommended addition. The price is $130 from Ss Brewtech. If you’re not looking to break the bank, a modified $40 used Cornelius keg could have probably fit. A plastic fermenter like the one from this kit might work as well.
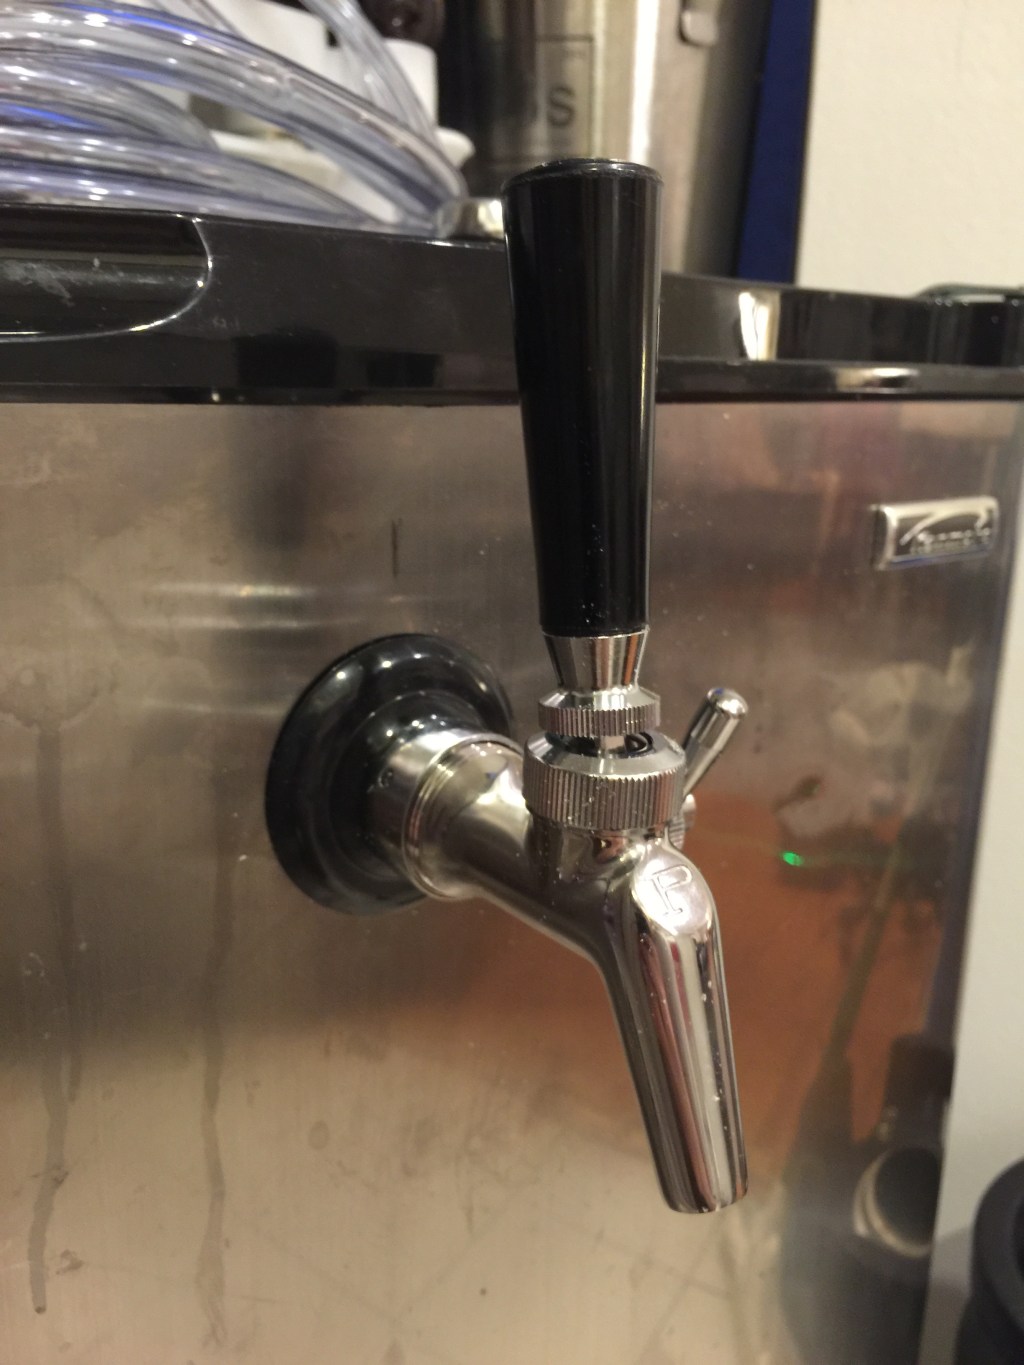
Perlick 650SS flow control faucet
This fancy faucet with flow control for overly foamy beer cost $50, though in retrospect the simpler Perlick faucets without flow control would have been fine at $30-35.
Note: A forward-sealing faucet will be the best extra $10-15 you’ll ever spend on beer dispensing. Perlick faucets are forward-sealing, which means that when the faucet closes its internal parts are insulated by the beer liquid. The cheaper rear-sealing faucets allow beer to dry inside, gumming up the piston that releases the beer and resulting in a completely immobile beer tap that has to be taken apart and soaked and will break if forced.
4 1/8″ Stainless steel shank and tail piece
This is the metal rear sheath element that attaches to the faucet on the inside of the fridge. It costs $35.
3 gallon Cornelius-style pin lock keg (used)
At one time, small, mostly 5-gallon kegs were used by Coke and Pepsi to distribute flavoring syrup for their soda fountains. These kegs have large openings that allow easy access for adding liquids and cleaning, plus they’re made of food-grade stainless steel. My 3-gallon example is a rare find that is perfect for half-batches.
A healthy secondary market of used kegs and replacement parts exists because of the kegs’ ability to hold beer under pressure. These kegs may be found used or refurbished for $30-50 or purchased new for $75-150.
5 lb CO2 tank
When buying a CO2 tank, you have two options: new or trade-in. Places that sell CO2 and propane will nearly always swap your current take for a full one, but not all will refill your tank. I paid $130 for deposit and $17 for a tank fill.
Inkbird ITC-308 temperature controller
This little gem is inexpensive ($35-40), has simple directions, and functions perfectly. Plug your fridge into the Cooling circuit, and it will turn on when the temperature registers above your set point. This allows for clean controlled fermentation in the 60s, even during summer heat waves. Find it on Amazon Prime.
4 x 6″ Stainless steel drip tray
I actually haven’t installed the drip tray yet. Functionally and aesthetically it isn’t really necessary, but it will catch some drips if you want to keep the floor clean. Cost was $22.
Tools
The tools needed are to drill the hole for the tap, disassemble the keg, and assemble the jumble of hoses, hose clamps, and nuts in the beer and gas lines.
Electric drill
7/8″ Hole saw drill bit
You’ll need these two tools to do the one semi-difficult step in this project: drilling the hole for the beer faucet and shank in the door of the minifridge. Our electric drill was a Christmas present and the hole saw bit cost $8 from the hardware store across the street which usually inflates their prices.
13/16″ Wrench or pin lock keg socket and wrench
This is the size of wrench that will fit a pin lock keg disconnect. It may also fit the ball lock, but there are several styles so Google it first or bring the keg to the hardware store for that matter.
Medium adjustable wrench
You’ll need an adjustable or open wrench to attach the nut for the regulator to the CO2 tank. I believe the actual size is 1 1/8″ so get an adjustable that opens to larger than that size.
Flat head screwdriver
The flat head screwdriver is for adjusting the gas pressure on the regulator and really nothing else, at least not for this project.
Faucet and hex nut wrench
The faucet and hex nut wrench is a specialized wrench for attaching and detatching the faucet as well as the nut on the back side of the faucet that threads into the faucet shank.
Parts: Small Items
This project requires a lot of small connectors and fasteners, most of which are only available easily from a homebrew or beverage supply store. All cost $10 or less, which adds up after a while.
Take a look at the list below. You’ll need everything on this list except the gelatin, yeast nutrient, and Irish moss at the end, those are additives for recipes.


This post was getting a bit long, so I split it up. Read on here Part II: Construction and Assembly for the next post on how to construct and assemble your project.

Leave a comment